How to Clean a Loofah: Ensure Hygiene and Prolong Its Lifespan with Proper Care
Introduction to Loofahs and the Need for Cleaning
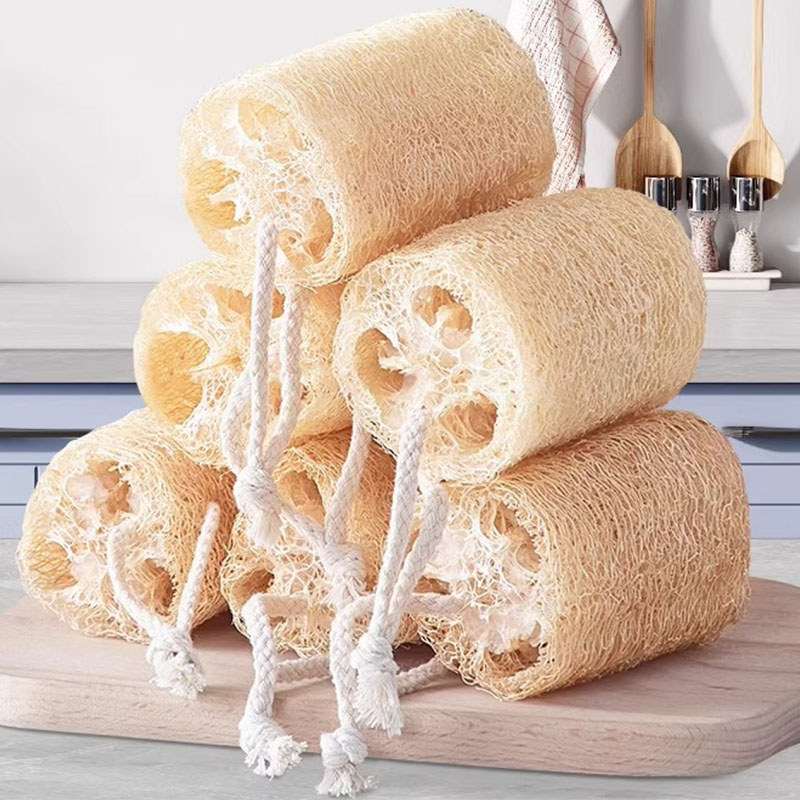
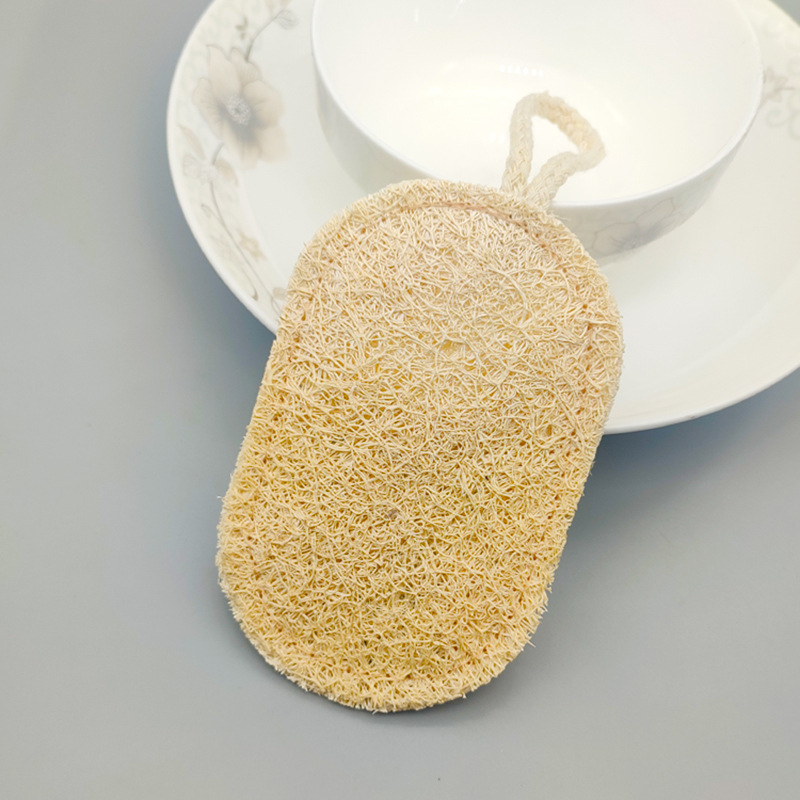
Loofahs (also spelled “luffas”) have long been a popular choice for exfoliating and cleansing the skin during showers or baths. Whether you use a natural loofah (made from the dried fibrous interior of the *Luffa aegyptiaca* plant) or a synthetic version, these porous tools offer gentle exfoliation that leaves skin feeling smooth. However, their textured, absorbent nature also makes them prone to trapping moisture, dead skin cells, and body oils—creating an ideal breeding ground for bacteria, mold, and yeast. Neglecting to clean your loofah regularly can lead to skin irritations, breakouts, or even infections. In this guide, we’ll walk you through every step of loofah maintenance to ensure it remains a hygienic and effective bath companion.
Why Cleaning Your Loofah Matters
Before diving into the “how,” let’s explore the “why.” Every time you use a loofah, it comes into contact with your skin, picking up dead skin cells, sweat, and soap residue. The damp environment of a bathroom, combined with the loofah’s porous structure, means moisture lingers long after you finish showering. Here’s what happens when cleaning is neglected:
- **Bacterial Overgrowth**: Bacteria like *Staphylococcus aureus* (which can cause folliculitis or skin infections) thrive in warm, moist conditions. A dirty loofah can become a bacterial hotbed.
- **Fungal Growth**: Mold or yeast (such as *Candida*) may develop, especially if the loofah is stored in a dark, humid space.
- **Skin Irritation**: Using a contaminated loofah can transfer pathogens to your skin, leading to redness, itching, or acne - like breakouts.
- **Unpleasant Odors**: As bacteria and mold multiply, they produce foul - smelling byproducts, making your loofah stink.
Step 1: Gather Your Cleaning Supplies
To clean your loofah effectively, you’ll need just a few items:
- **Mild Soap or Body Wash**: Opt for a gentle, fragrance - free formula to avoid damaging natural loofah fibers or irritating your skin later.
- **White Vinegar**: A natural disinfectant that’s safe for most loofahs (especially natural ones).
- **Hot Water**: Helps loosen debris and kill microbes.
- **A Clean Towel or Drying Rack**: For air - drying the loofah after cleaning.
- **Optional: Bleach (for synthetic loofahs only)**: A small amount of bleach can disinfect synthetic materials, but avoid it for natural loofahs, as it may weaken the fibers.
Daily Cleaning: After Each Use
Make post - shower loofah care a habit to prevent buildup. Follow these steps:

1. Rinse Thoroughly with Warm Water
As soon as you finish showering, hold your loofah under warm running water. Squeeze and release it repeatedly to flush out loose dead skin cells, soap, and debris. The goal is to remove as much surface gunk as possible while the loofah is still wet and pliable.
2. Lather with Soap
Apply a dime - sized amount of mild soap or body wash directly to the loofah. Rub the loofah against itself (or use your hands) to work up a rich lather. Pay extra attention to the crevices and dense areas where debris loves to hide. For synthetic loofahs with intricate textures, use a soft - bristled brush to scrub hard - to - reach spots.
3. Rinse Until Clear
Hold the loofah under warm water again, squeezing and twisting it until the water running off is completely clear (no soap suds or cloudy residue). This ensures all soap and loosened debris are washed away.
4. Squeeze and Air - Dry
Gently squeeze out excess water (don’t wring too hard, as this can damage fibers). Then, hang the loofah in a well - ventilated area—preferably outside the shower, where air circulates freely. Avoid placing it in a sealed container or letting it sit in a puddle of water, as this traps moisture and encourages microbial growth.
Weekly Deep Cleaning: Sanitize and Refresh
Even with daily cleaning, germs can accumulate over time. Deep clean your loofah once a week (or every 10 days, depending on how often you use it) using one of these methods:
Method 1: White Vinegar Soak (Best for Natural Loofahs)
Vinegar’s acetic acid neutralizes bacteria and cuts through soap scum.
1. Fill a bowl with equal parts white vinegar and warm water (e.g., 1 cup vinegar + 1 cup water).
2. Submerge the loofah completely and let it soak for 30 minutes.
3. After soaking, rinse the loofah thoroughly under warm water to remove the vinegar smell.
4. Squeeze out excess water and air - dry as usual.
Method 2: Hot Water Soak (Safe for All Loofah Types)
Heat kills many microbes, so this method is simple and effective.
1. Boil a pot of water, then let it cool slightly (to around 160°F / 71°C—too hot and it might damage natural fibers).
2. Pour the hot water into a heat - safe container and submerge the loofah.
3. Let it soak for 10–15 minutes. The steam and warmth will help disinfect.
4. Remove the loofah, rinse with cool water, squeeze dry, and hang to air - dry.
Method 3: Bleach Soak (Synthetic Loofahs Only)
Bleach is a powerful disinfectant but too harsh for natural loofahs.
1. Mix 1 teaspoon of liquid bleach with 1 gallon of warm water.
2. Submerge the synthetic loofah and let it soak for 5 minutes.
3. Rinse thoroughly with warm water to remove all bleach residue.
4. Air - dry completely before using again.
Drying and Storage: Keep It Dry Between Uses
Proper drying is just as important as cleaning. Here’s how to do it right:
- **Hang High and Dry**: Use a hook or shower caddy to hang the loofah where air flows around it. Avoid contact with other damp items (like towels) that could transfer moisture.
- **Avoid Closed Spaces**: Never store a loofah in a sealed plastic bag or drawer while it’s still damp. If you travel with a loofah, let it dry completely first, then store it in a breathable pouch.
- **Check for Dryness**: Before using your loofah again, make sure it’s 100% dry. A damp loofah is a magnet for germs.
When to Replace Your Loofah
No matter how well you clean it, a loofah has a lifespan. Here’s when to toss it:
- **Natural Loofahs**: Replace every 1–2 months. Over time, natural fibers break down, becoming less effective and more prone to trapping bacteria.
- **Synthetic Loofahs**: Replace every 2–3 months. Even synthetic materials wear out, and micro - tears can harbor germs.
- **Signs It’s Time to Replace**: If your loofah has an odd smell (even after cleaning), feels slimy, has visible mold spots, or looks frayed/ragged, discard it immediately.
Common Mistakes to Avoid
Even well - intentioned users make errors that compromise loofah hygiene. Steer clear of these:
- **Skipping Daily Rinsing**: A quick rinse after use is non - negotiable—don’t let debris sit on the loofah overnight.
- **Storing in the Shower Stall**: The shower is the most humid part of the bathroom. Hang your loofah *outside* the shower after use.
- **Using Harsh Cleaners on Natural Loofahs**: Abrasive chemicals or strong detergents can weaken natural fibers. Stick to vinegar or mild soap.
- **Sharing Loofahs**: Just like toothbrushes, loofahs are personal items. Sharing transfers skin bacteria and increases infection risk.
Pro Tips for Loofah Longevity
- **Rotate Two Loofahs**: If you use a loofah daily, keep a backup. Alternating allows each to dry completely between uses.
- **Exfoliate Gently**: Scrubbing too hard wears out loofah fibers faster and can irritate skin. Use light, circular motions.
- **Clean Your Storage Area**: Wipe down your shower caddy or hook regularly to prevent mold spores from settling on your loofah.
Conclusion
A clean loofah is key to maintaining healthy, glowing skin. By following these daily cleaning, weekly sanitizing, and proper storage practices, you can enjoy the exfoliating benefits of your loofah while minimizing the risk of skin issues. Remember: when in doubt, replace it—your skin will thank you for the fresh start.